I hope you are inspired to Pull Together your home and your special art, photos, and inspiring decor!
Challenge 1:
With the limited money and time and taste that changes faster than the seasons do, it's a big challenge to find, buy and hang a larger statement pieces that also brings together ALL of the art and photography I want to display. No offense if this is your house, because it looks warm and set up nicely with great details BUT the art is hung traditionally and sparingly. One statement piece above each couch... it's ok, but nothing memorable and hardly inspiring.

Option 1:
Growing up my family had most of our photos framed and gathered going up the stairs while the other larger art was strategically (and sparingly) placed around the rest of the house.

Option 2:
When you don't have a single statement piece for the wall, rather than putting a tiny item on a large empty wall space, creating an aesthetically unpleasing space, build a visually larger decor area by creating a WALL GALLERY! I love the idea of using wall galleries around the house because you can surround yourself with inspiration and memories while being able to easily change out the look by switching the art in the frames for new seasons or just to rotate your collections! Also, wall galleries give you an organized way to display your memories and inspiration without continuing the outdated method of stacking family images on a mantel or piano top while hanging a single piece of art.

Challenge 2: (Now that I decided to do a gallery)
I have collected a ton of frames, from junk to nice quality and all different materials, sizes and colors. With such an "eclectic" mix (my way of nicely saying completely mismatched) of frames, it is is hard to hang my art and photos that inspire me so much, without looking like clutter is climbing my walls.

Option 1:
Narrow your color scheme to a few colors and stick to those colors for all of your frames, the subjects of the framed artwork and any unframed items you may be hanging as well. This example narrows the colors down to black, white, gray and red. Keeping the colors in the same scheme as the space the gallery is housed also brings all your pieces together even if your shapes and sizes of artwork are not at all similar. What do you do with the leftovers that don't fit in that gallery's color scheme? That brings us to option 2.

Option 2:
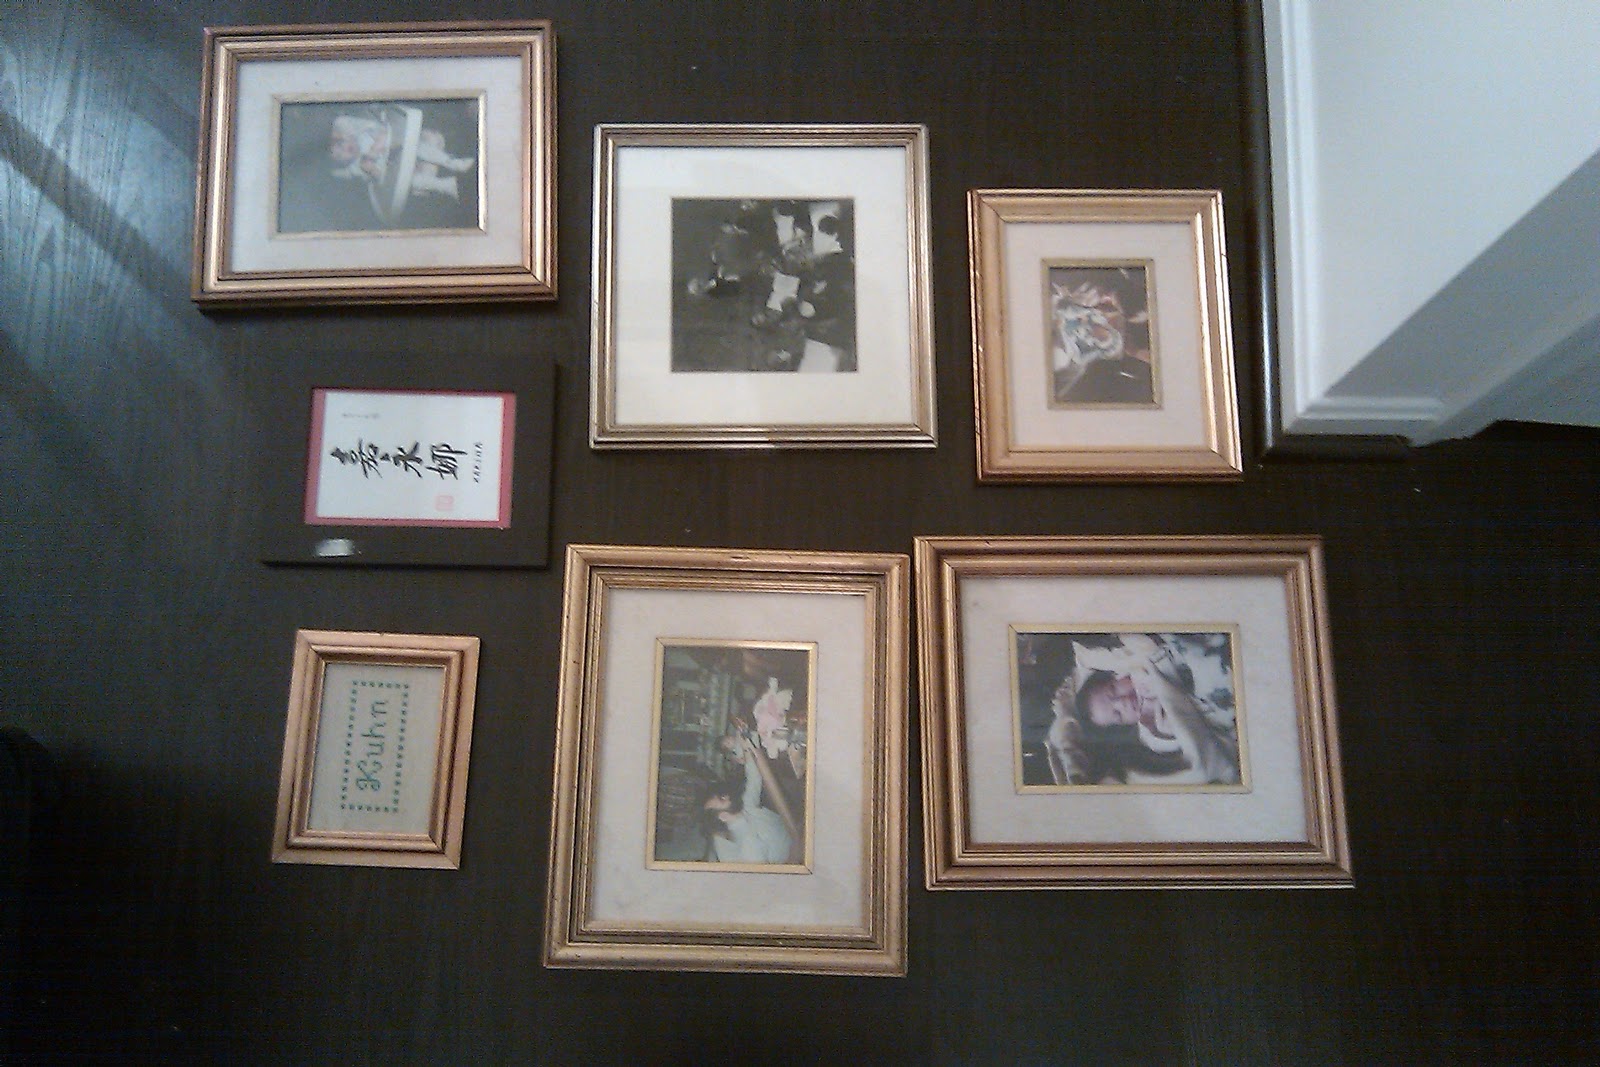
Group like colors together and create multiple gallery walls around various areas of your home. The black, white, gray and red in an area upstairs where the rooms and walls include the colors and downstairs they used beige/brown, white, pencil and pastels which go with the paint, carpet, wood and furniture of the room where the gallery is housed.

Option 3:
Group like sizes or shapes together on one gallery wall allowing you to layout your space and create more of a repetitive look on that wall space. These frames are all different colors but they are all rectangles in a medium size range. They can be hung horizontally or vertically which helps trick the eye for slight size differences, so that visually you still interpret the wall as being the same size.
Option 4:
Single colors unify objects and create the gallery look of a wall full of your memories and inspiring artwork. If the items you are hanging, including the frames surrounding your art and photos, are all different sizes, shapes, colors and you aren't creating multiple galleries then change the easiest element... COLOR! Pull out your favorite spray paint to contrast the wall color or go completely tone on tone with the wall. Here are examples of the single color gallery items and a few different looks you can accomplish with the color you chose.

Tip - The strong pigment of the black contrasts against the ultra light beige walls that the viewer notices the unified frames before noticing any difference in the color of the photos. Unity achieved!

Tip - If you have simple clean lined frames that aren't really artwork in themselves, turn them into architectural interest pieces by painting them tone on tone! The lack of contrast between the walls, frames & stair rail creates visual & almost architectural texture on the wall, becoming part of the wall itself. The viewer's eyes are automatically drawn to the art rather than the frames. Unity achieved!

Tip - If you have a mix of simple & ornate frames (that could be artwork on their own), highlight the beauty of both by painting them the same color as your moulding or home accents like banisters. The contrast between the walls, moulding & frames makes the frames part of the accents built into the house & showcases them separately from the art that they frame. The viewer eyes are drawn to the photos & artwork first then, the viewer sees the gallery wall as seamlessly built into the home rather than being added later. Unity achieved!

Tip - HANG IT ALL UP! Your Gallery Wall is about you & what makes you happy at home, so if you have items that inspire you which aren't able to fit into a nice neat little square frame, don't store them away! Add interest to your Gallery Wall by painting that set of old keys & hanging them along side of the framed items and old photo booth strips from high school. It's aesthetically pleasing due to the color, in this ex, so if it's different paint away and hang it up, sistah! Unity achieved!
 Tip - The strong contrasts of the black and white art against the walls stands out to the viewer before the frames which were painted the same color as the wall. Frames become a background feature, allowing the art to stand out. Unity achieved!
 Challenge 3:
How to I hang my items so they don't look like I had a bottle of wine before nailing them to my wall??
If you are afraid of eyeballing your placement, don't know where to start, or making that first nail hole in the wall then this is the perfect post because I have examples of different templates for those of you who aren't ready to reach outside of your boxes yet.

Collect all the items you plan to put in your Wall Gallery, clear a floor space the size of your Gallery space and lay it all out.

Tip - Once you move everything and your layout finally looks right to you, take a picture. It's important that you take a picture because as much as you think you will remember, something always comes up in life and you get distracted.
Collect all the items you plan to put in your Wall Gallery, grab a sharpie, and paper (go green: use old news papers), scissors, painters tape, nails (strong enough to hold your items on the wall) and a hammer.

- Use the sharpie to trace the shape of your personal items being added to the gallery, onto your paper
- Make an "x" on the paper with the sharpie where the hook is. If there is no hook, mark where the nail in the wall would hit the item to hold it on the wall
- Cut the traced shapes to create the templates of your individual items
- Attach a small piece of painters tape to the corners of your templates
- Hang up your templates so that the side with the "x" is facing you.
- Move the templates around until you fins a layout that works perfectly for you and your space. (see the picture above)
- Hammer one nail into the center of each of the "x" markings on the templates.

- Hang your items on the nails, according to the template you taped to the wall
- Rip the paper templates from the wall, leaving the nail in.
Option 3: Use an existing layout and templates
Asses the items you want on your Wall Gallery and then pick a template layout from the examples below and start hanging!

Tip - You can go to the Ann Beck Photography link and get a larger image of these templates to print, enlarge and use on your wall
MY SOLUTION, WHAT'S RIGHT FOR ME: I decided what I am going to do, FINALLY! Check out a future posting to see what I decided and how it all came together!
No comments:
Post a Comment